Coping Idea for Kids: How to Make a Glitter Jar
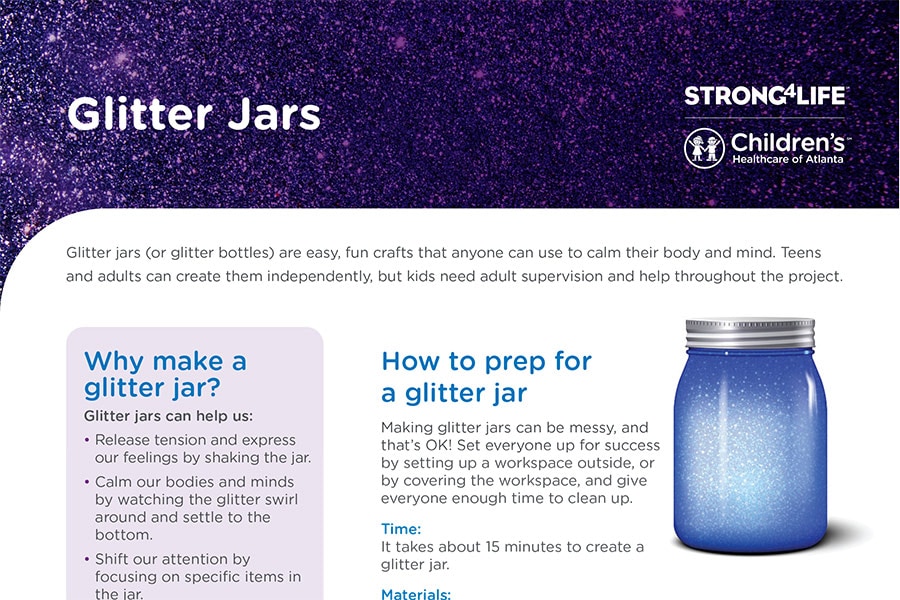
Everyone experiences a range of emotions—kids and grown-ups alike. Although we all have feelings, we’re not born knowing how to handle them. That’s where coping skills come in. To develop resilience (the ability to handle life’s ups and downs) in kids, we must teach them how to cope, or work through their emotions, in healthy ways. There are many healthy ways to cope, but one of our favorites is a glitter jar (or glitter bottle). This simple and fun craft can help kids calm their bodies and minds. Read on to learn why glitter jars can be helpful and how to make them, or download our glitter jar making tip sheet.
In this article:
What are the benefits of glitter jars?
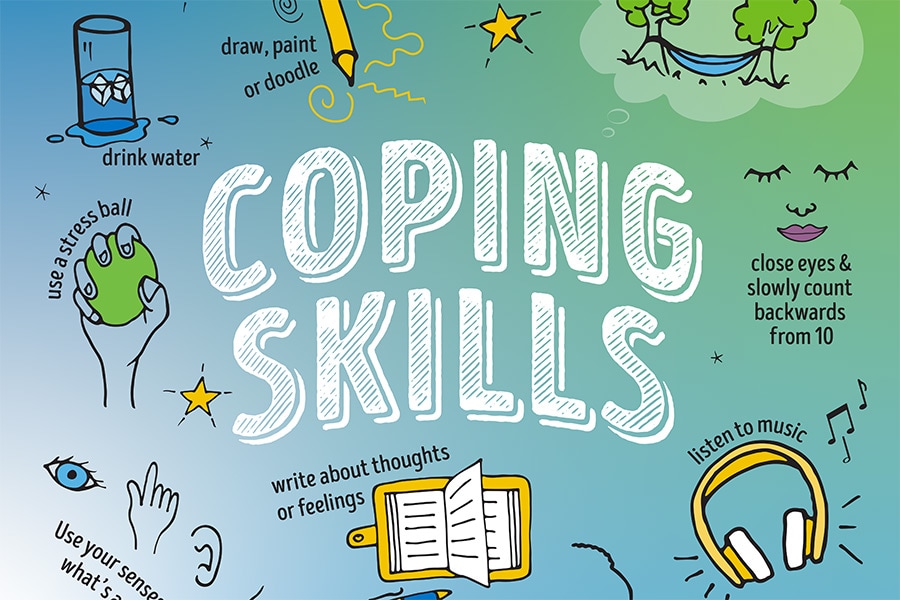
Glitter jars can help kids:
- Calm their bodies and minds by shaking the jar and watching the glitter swirl around and eventually settle to the bottom.
- Release tension in their bodies and express their feelings, such as anger, frustration or excitement, by shaking the jar.
- Shift their attention and ground their bodies and minds by focusing on specific items in the jar (e.g., a bead, a sequin, etc.).
Anyone can make and use a glitter jar; they can be a helpful coping strategy for all ages. Teens and adults can create them independently, but kids need adult supervision and help throughout the project.
Safety note: Some items in a glitter jar, like beads and buttons, may be a choking hazard. Monitor kids closely and decide what’s safe and appropriate based on the child. Also, avoid using glass jars or bottles to avoid potential harm (and mess) in case they break.
How do I make a glitter jar?
Time: It takes about 15 minutes to create a glitter jar, but we all create and design at different paces. So, your glitter jar may take less or more time to make depending on how simple or detailed you’d like your glitter jar to be.
Keep in mind that making glitter jars can be messy, and that’s OK! Set everyone up for success by setting up a workspace outside, or by covering the surface, and give everyone enough time to clean up after completing the project.
Materials:
- Paper towels, newspaper or paper
- Empty plastic jar or bottle with a lid
- Clear glue (If you don’t have clear glue, clear liquid soap can work as an alternative.)
- Plastic cup or small bowl (It may be stained by food coloring, so consider that when deciding what to use.)
- Warm water
- Assortment of glitter (fine, chunky, various shapes, etc.)
- Spoon(s) (Alternatively, use popsicle sticks or old pencils for stirring, but be aware that these may also get stained by food coloring.)
- Tacky or hot glue
Optional materials:
- Food coloring
- Funnel
- Confetti, sequins, beads or buttons
Instructions:
- Gather all materials and read the instructions before creating glitter jars.
- Cover the workspace with paper towels, newspaper or paper.
- Fill 1/3 of the empty jar or bottle with clear glue (or clear liquid soap).
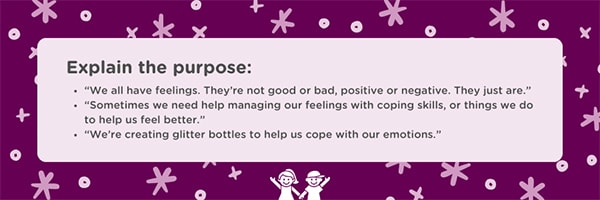
- Explain the purpose: “We all have feelings, and they’re not good or bad, positive or negative. They just are. And sometimes we need help managing our feelings with coping skills, which are things we do to help us feel better. We’re creating these glitter jars to help us cope with our emotions."
- Set expectations:
- “This will take about 15 minutes, and the glitter jars will need to dry before we can use them.”
- “Every glitter jar is unique and may look different than you originally planned.”
- “It’s OK to work slowly. You can always add more to your glitter jar, but it’s much harder to remove items.”
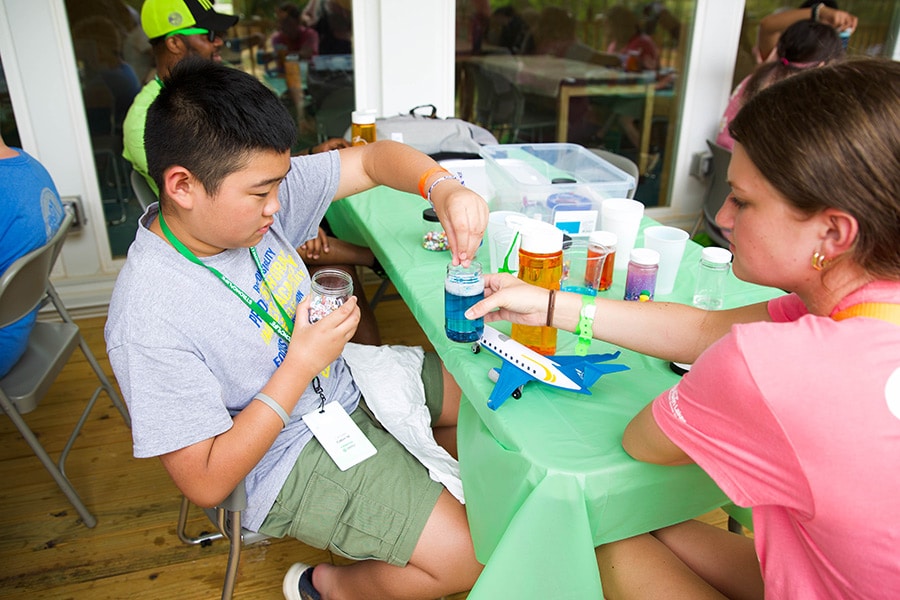
- Pick a color (optional). Use a plastic cup filled with water to test food coloring before pouring it into the jar. Then, squeeze 2 to 3 drops of food coloring into the jar. Be careful not to add more because it can be hard to see inside the jar if the color is too dark.
- Add warm water to the jar so that 1/3 of the jar stays empty to allow space for glitter, confetti, sequins, beads, buttons, etc.
- Add items (glitter, confetti, sequins, beads, buttons, etc.) to the jar (using a funnel can help). Keep in mind, adding more items will make the liquid move slower, and fewer items will make the liquid move faster.
- Fill the rest of the jar with water, screw on the lid and seal the lid with tacky (or hot) glue. Make sure the top of the jar and the inside of the lid are dry so the glue sticks.
- Allow the glue on the lid to dry for at least 2 hours.
Reflection questions to ask after making glitter jars
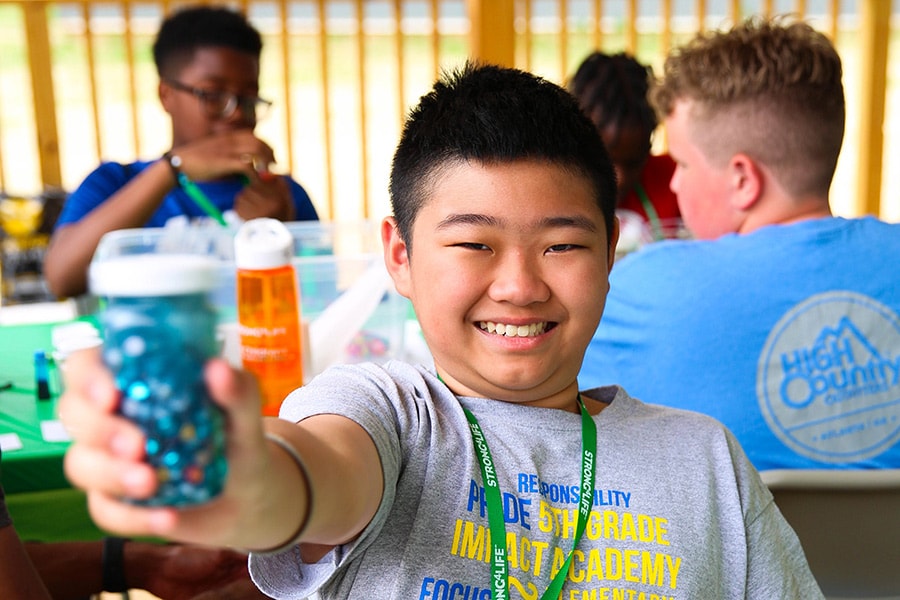
After the glitter jars have fully dried, encourage kids to shake and swirl their jars and explore other ways they can use the jar to help them feel better. Maybe they like shaking their jars fast or slow, or taking deep breaths while the glitter swirls, or counting how long the glitter takes to settle to the bottom.
Then, start a conversation about the experience and how they plan to use their jar moving forward:
- “What was the most challenging part of making the glitter jar?” “What helped you work through it?”
- “What was the most fun part of making the glitter jar?”
- “Where can you keep your glitter jar so it stays safe?”
- “When are times you may want to use your glitter jar?” (e.g., when I have a lot of energy after recess, when I’m tired after a long day of school, when I need to calm my mind before bed, when I’m worried about a test or overwhelmed by a situation, etc.)
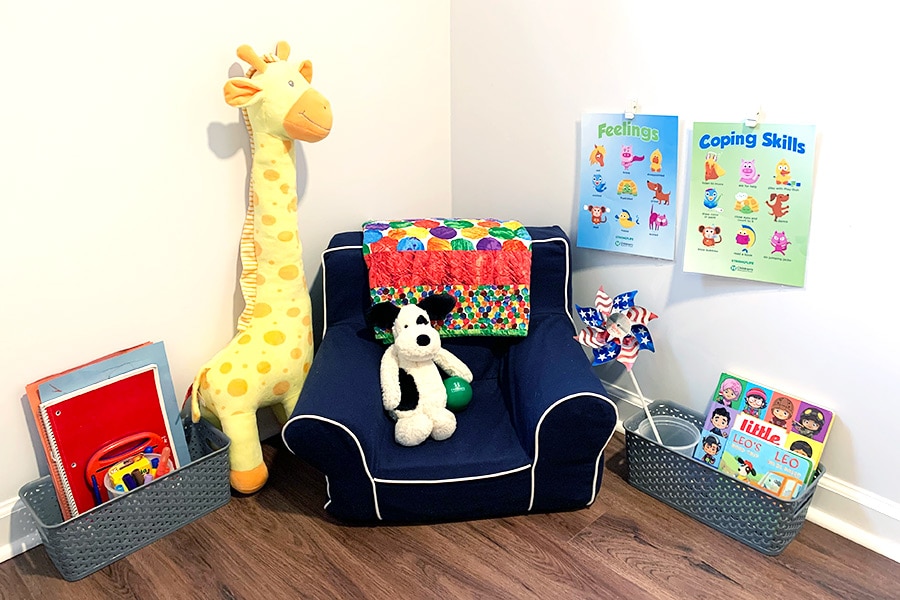
Where should I keep my glitter jar?
Want to provide a safe, calming space for kids at home? Try creating a calming corner: a dedicated spot where kids can reset whenever they’re experiencing strong emotions or just need a break. Check out our mental health experts' recommendations for making a calming corner and take advantage of all the free Strong4Life printable resources to keep there—along with the glitter jar.